They say that opposites attract. I definitely think these colors that are opposite on the color wheel attract some beautiful attention.


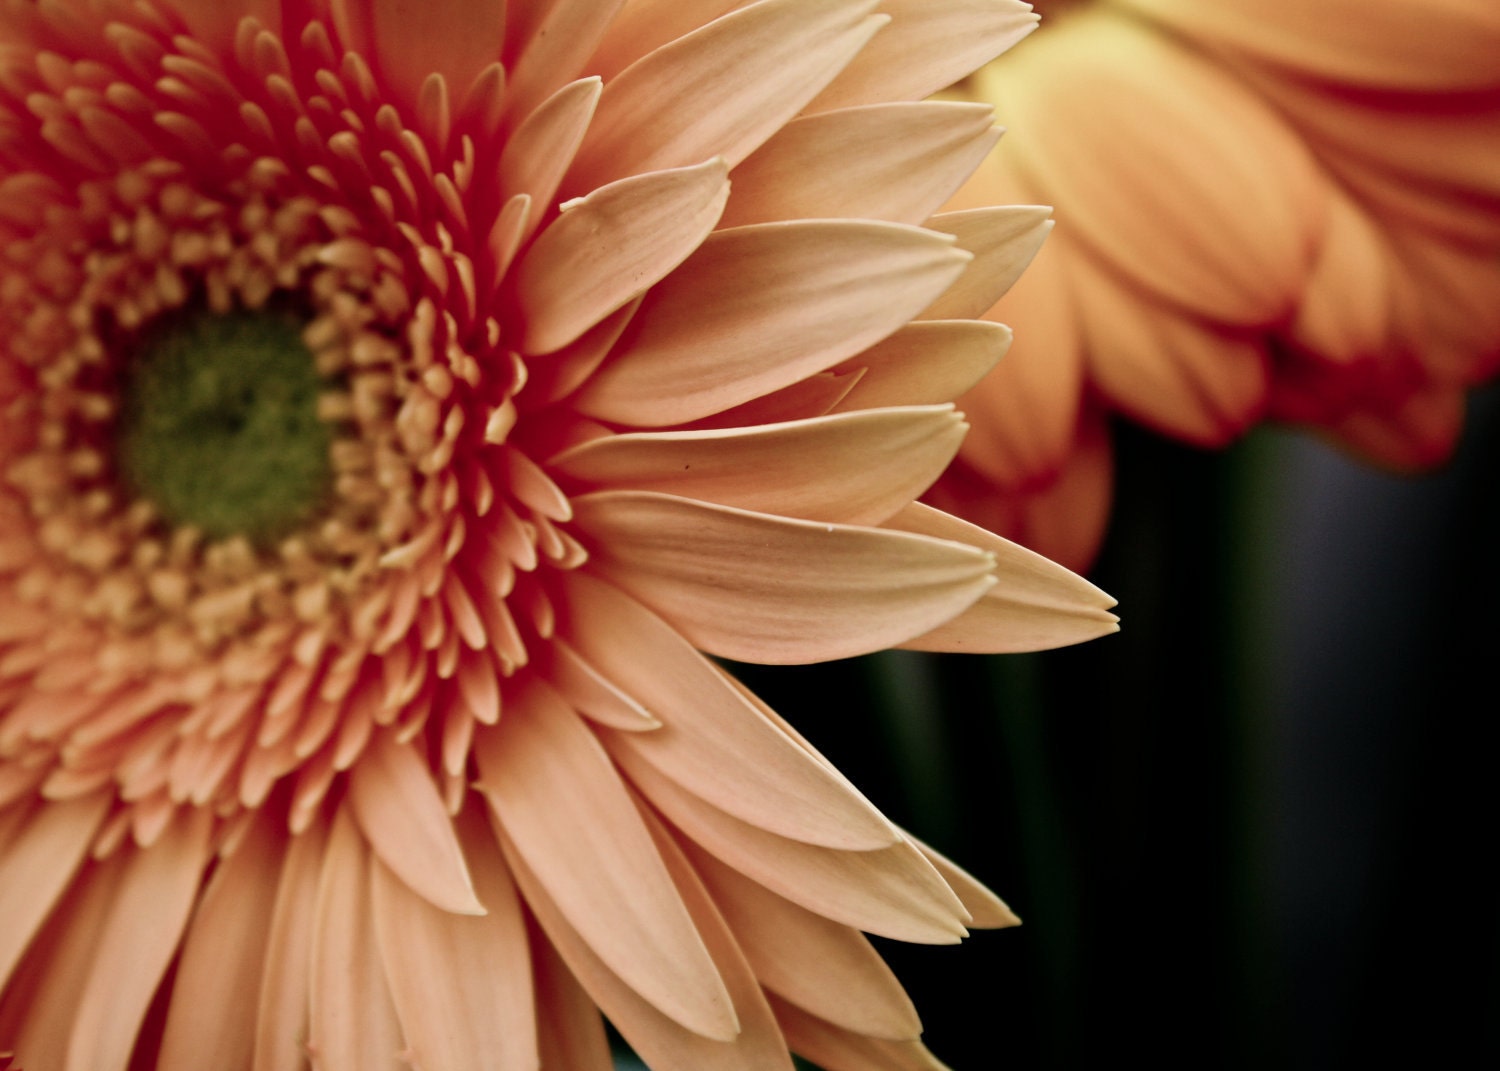
image source: bedroom, sewing maching, chair and knob, antique door


 Winter Wonderland Coat ... $450.00 |  Star Snowflakes Christm... $14.95 |  Owl In Winter (5x7 Orig... $15.00 | 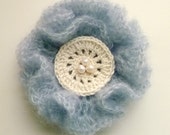 Mohair Silk Beaded Croc... $25.00 |
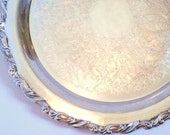 Large Vintage Silver Pl... $21.99 | 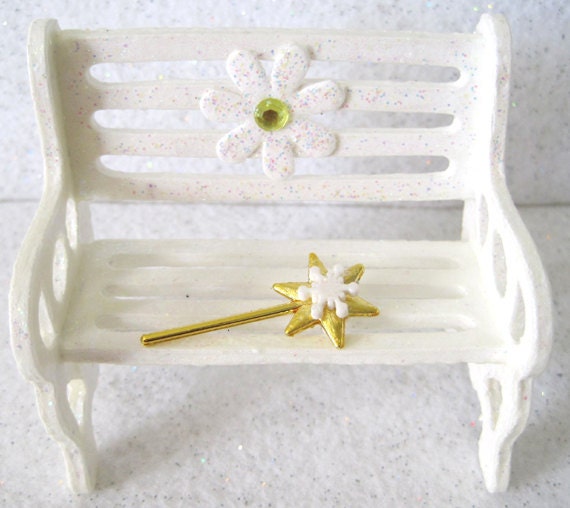 Winter Fairy Bench Whit... $7.00 |  Blue Lace Agate Interch... $37.00 | 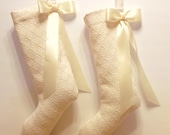 Pair of Christmas Stock... $30.00 |
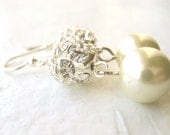 Winter Wonderland Brida... $25.00 | 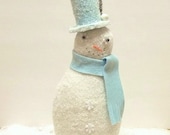 Plump Snowman- White an... $19.00 | 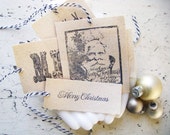 White Christmas- Christ... $5.95 | 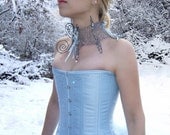 Snow Queen Overbust Cor... $200.00 |
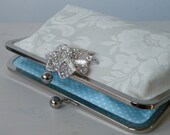 Falling Star Bridal Clu... $75.00 | 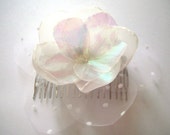 fairy Cinderella blosso... $21.00 |  float . mohair knit sca... $72.00 |  5 Porcelain winter whit... $19.50 |


