



navigation bar

Photobucket Photobucket Photobucket Photobucket Photobucket Photobucket Photobucket

Wednesday, November 16, 2011

Candied Apples

These candied apples are so elegant looking.  Must try to make these

image source

Pin It

Monday, November 14, 2011

Thanksgiving Pizazz

A few clever ideas to give your Thanksgiving dinner that WOW factor!

This whimsical turkey centerpiece is made with a rainbow of fruits and vegetables: cranberries, brussels sprouts, eggplants, sweet potatoes, apples, peppers, carrots, dried corn, and a pumpkin. Carve Sahara oasis foam to form the base of the turkey's neck.  Find the instructions to make this Turkey HERE

Don't just have an ordinary vegi tray this year.  Give it some pizazz and turn it into a Turkey.  Find the full instructions to make this Turkey HERE

Pin It

Saturday, November 12, 2011

The Artisan Crafted Holiday Gift Guide

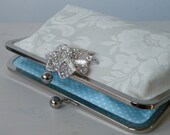
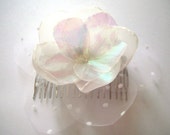
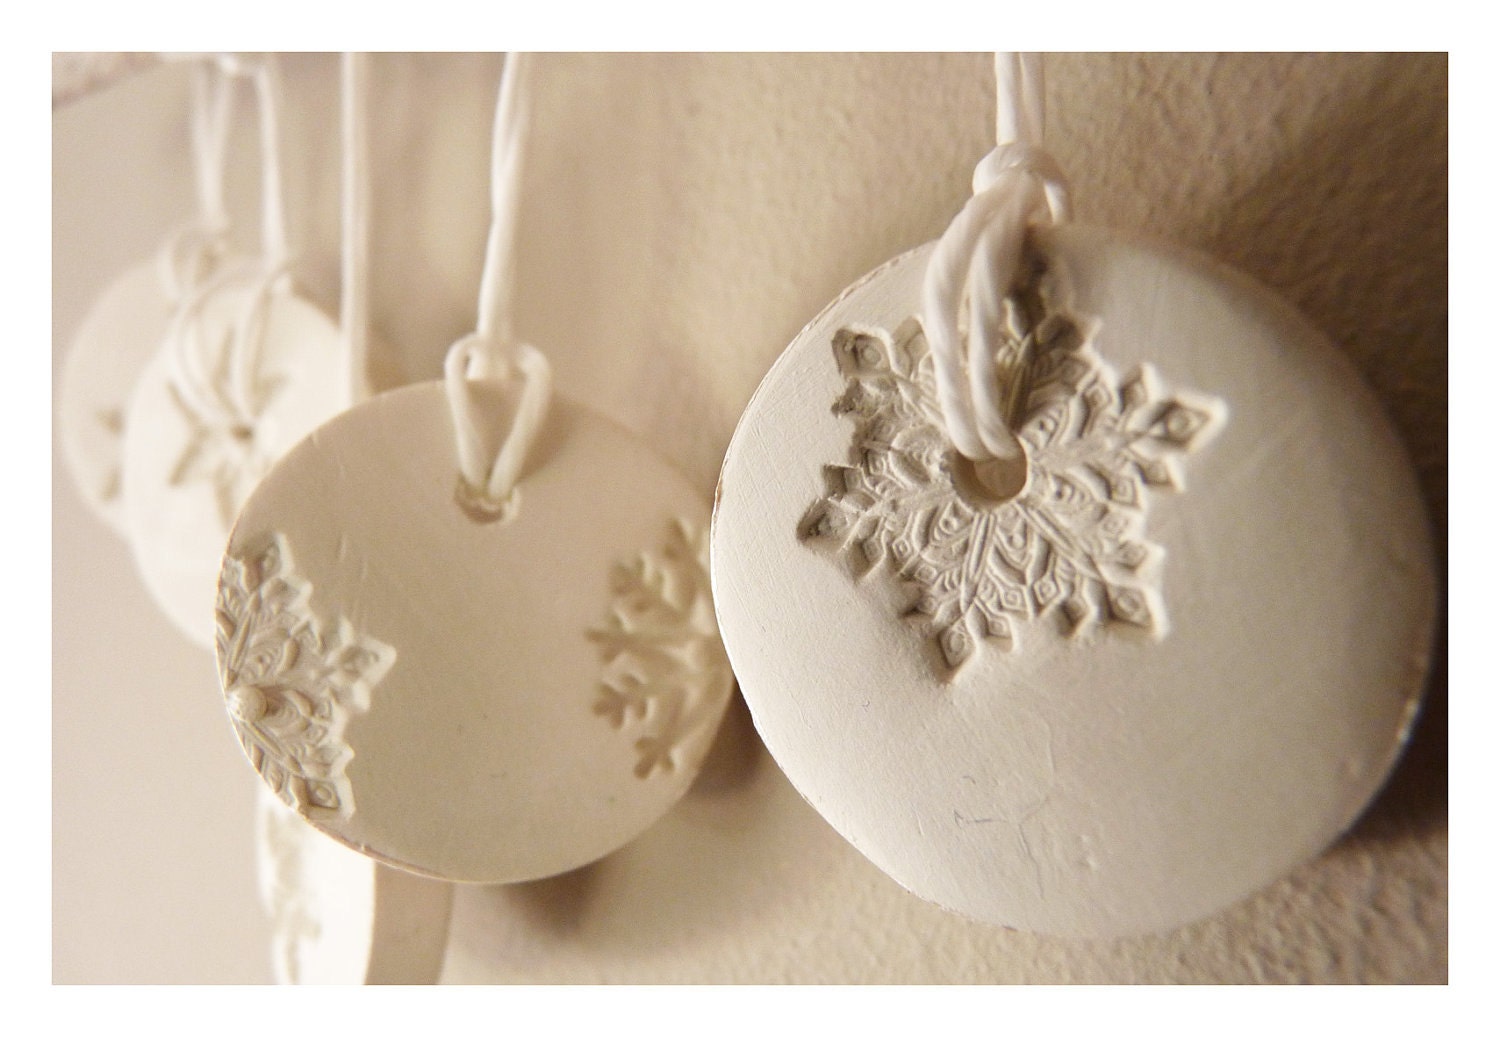
Holiday Gift Guide Week #1.  Some wonderful items from our handmade artisans.  Please support your handmade community.  Happy Shopping.


Pin It

Wednesday, November 9, 2011

Lovely Fall Tablescapes

Now that I am feeling so "fall" the interior designer is coming out and I feel the need to decorate my table with a fall tablescape.  This is such an easy way to bring the feeling of autumn to the inside of your home.  Here are some great ideas.

I love the idea of squash filled with candy corn.  You could arrange these in a wooden tray with some moss on the bottom to add some texture.

These white rectangular plates are so easy to find.  I see them at Target all the time.  Fill them with miniature pumpkins and then scatter some yellow and orange mums on them.  Cut the mums all the way down so that only about 1/2" of the stem are showing. 

Go outside and bring in some branches with brightly colored leaves.  Use them to fill large glass vases.  You can even fill the vase with a few inches of acorns or pecans to add some texture to the arrangement.

Image source: bhg.com

Pin It

Tuesday, November 8, 2011

Yummy Apple Cider

Try one of these yummy apple cider's on a cold winter night!  Better yet pair them with a roaring fire and you'll have a perfect winter evening.


Creamy Apple Cider

  • Hot Cider Nog: Whisk together 2 cups half-and-half, 1 cup each milk and apple cider, 2 large eggs, 1⁄2 cup sugar, 1⁄4 tsp. ground cinnamon, and 1⁄8 tsp. each salt and ground nutmeg in a heavy saucepan. Cook over medium-low heat, whisking constantly, 15 to 20 minutes or until mixture thickens and coats a spoon. Remove from heat; stir in 1⁄2 cup bourbon, if desired. Top each serving with sweetened whipped cream. Garnish with cinnamon sticks, ground cinnamon, and apple slices, if desired. Makes: 5 1⁄2 cups  
Mulled Apple Cider
  • Cider Tea: Place 6 regular-size hibiscus tea bags and 2 1⁄2 cups water in a medium saucepan; bring to a boil. Boil, uncovered, until liquid is reduced to 2 cups. Remove tea bags, and stir in 4 each whole allspice and cloves and 2 (3-inch) cinnamon sticks. Let cool about 1 hour; chill 1 hour. Discard solids. Cook tea mixture and 6 cups apple cider in a large saucepan over medium heat until thoroughly heated. Note: We tested with Celestial Seasonings Red Zinger Herbal Tea. Makes: 8 cups
 Spiked Apple Cider
  • Rum Cider Tea: Prepare Cider Tea as directed, stirring 1 cup spiced rum into cider mixture in saucepan. Makes: 9 cups
  • Bourbon Cider Sour: Stir together 3⁄4 cup each bourbon and apple cider, 1⁄2 cup orange juice, and 1⁄4 cup sugar. Serve over finely crushed ice. Makes: 2 1⁄3 cups 
image source: southernliving.com

Pin It

Friday, November 4, 2011

Chic Wall Storage Idea

It is that time of year, jackets, gloves, scarves and boots will need to find a nice home when they walk in the door.  How about transforming an ordinary hardware store find into a functional piece of art!


1. Purchase two, four-foot-tall cardboard tubes, one measuring 10 inches wide and the other 12 inches wide. Use a jigsaw to cut each tube into smaller tubes of varying heights (refer to the photo at left for guidance).

2. Cover the outside of each smaller tube with contact paper. Cut away any excess paper with a utility knife.

3. Arrange the tubes on the floor as you'd like them to hang. Wherever two meet, use an awl to poke a hole through both. Slide a no. 10 washer onto a 6-32 x ½" bolt, push the bolt through both tubes, slide another no. 10 washer onto the bolt, and secure with a nut. Fasten all the pieces together in this way.

4. To create load-bearing braces, slide a piece of wood that's at least an inch thick underneath one of the topmost tubes. Trace an arc along the top half of the tube's interior onto the wood. Measure down two inches and draw another arc that connects to the first, making a crescent shape. Repeat for all the tubes on the top row.

5. Use a jigsaw to cut out crescents from wood, following the shapes you drew. Drill a hole into the center of each shape.

6. With a friend's help, position the tubes on your wall. Use a pencil to lightly trace the top arc on the wall, along the interior of each topmost tube. Set the tubes aside. Place a brace so it aligns with one of the drawn-on arcs, then stick a pencil through the brace's hole to make another small mark on the wall. Drill a hole in that spot, then tap in a plastic anchor until it's flush against the wall. Repeat with remaining braces.

7. Align the hole in one brace with the corresponding anchor. Using a drill with a Phillips-head bit, screw the brace to the wall. Repeat with remaining braces. Set the tubes onto the braces.

8. At the back of each supported tube, just above the brace, make a pilot hole with an awl. Fasten the tubes to the braces using ¾-inch screws.

Pin It